As a beginner in astronomy, I built an automated observing briefing system using Meteoblue and Jarvis to read the urban night sky. The goal is simple: I want to know if tonight is worth going out, what time is best, and what targets are realistic before I carry my gear to the rooftop.
Why I Needed This System
I want astronomy to become more than a one-off hobby. I want to observe, experiment, record what I learn, and eventually turn those records into useful posts for other beginners like me.
The problem is that real life gets in the way. After work, I am tired. I do not want to check multiple weather and astronomy sites every evening and still end up wondering, “Was tonight actually worth it?”
So I decided to make Jarvis do that part for me.
I First Treated It Like a Weather Report, and That Was a Mistake
At first, the idea sounded simple.
Just check the weather and tell me whether tonight is good for observing.
That turned out to be wrong.
For astronomy, especially deep-sky observing, a normal weather forecast is not enough. No rain and light wind do not automatically mean a good observing night. On the other hand, a sky that looks fine at first glance can still be ruined by high cloud.
That is where Meteoblue Astronomy became important.
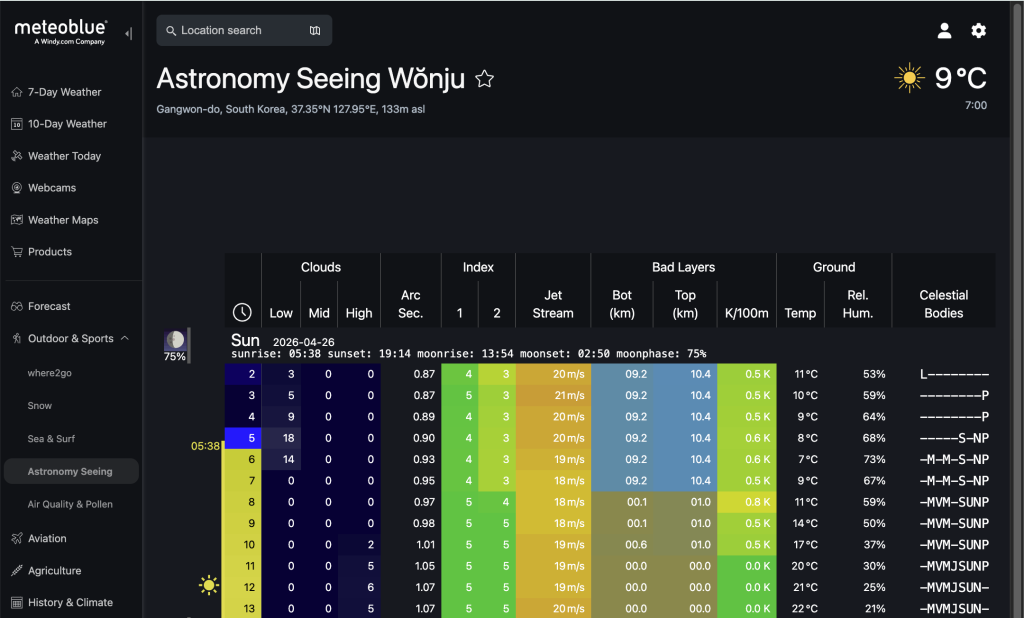
Meteoblue Astronomy shows data in a way that feels much closer to how an observer actually thinks. The first things I look at are these:
- low cloud
- mid cloud
- high cloud
- seeing
- arc sec
- jet stream
- humidity
- moon phase
The biggest lesson was very simple.
For deep-sky observing, cloud is the first filter.
That does not mean transparency and seeing do not matter. They do. But if cloud is there, especially high cloud, the session can be over before it even starts. High cloud is tricky because it can leave the sky looking “usable” while quietly killing contrast.
So for deep-sky observing, I now check cloud layers first and only then move on to the rest.
How I Redesigned the Briefing System
Instead of asking Jarvis for a general weather-style report, I changed the system into something more practical: a tool that interprets Meteoblue Astronomy and finds the actual observing window.
That means the key question is no longer, “Is tonight good?”
The key questions are these:
- What is the real observing window tonight?
- How long does that window last?
- Is it good enough for deep-sky observing?
- Which telescope should I use?
That led to a much better decision flow.
The New Logic
- Check low, mid, and high cloud first
- Find the actual cloud window
- Check how long that window lasts
- Then evaluate seeing, arc sec, jet stream, and humidity
- Finally, recommend targets and gear for that window
In short:
Do not judge the whole night as one block. Find the actual observing window first.
The Briefing Format I Built
The system does not just look at tonight. Meteoblue gives roughly 48 hours of useful data, so I decided the briefing should include both tonight and tomorrow night.
That matters more than I expected. Even if tonight is poor, tomorrow may already look promising enough for me to prepare gear and schedule ahead.
[Image insert: Meteoblue Astronomy screen showing low, mid, high cloud and seeing]
This is the general structure I gave Jarvis.
# Urban Deep-Sky Hunt - Daily Briefing

- Date:
- Location: Wonju Innovation City rooftop

## Tonight
- Summary:
- Main observing window:
- Go / Conditional Go / Not Recommended
- Deep-sky suitability:
- Recommended gear tonight:

## Tomorrow Night Preview
- Summary:
- Expected observing window:
- Forecast confidence:
- Recommended gear tomorrow night:

## Window Analysis
- Tonight primary window:
- Tonight secondary window:
- Tomorrow primary expected window:
- Window length assessment:
- Main risks:

## Technical Data Summary
- Low cloud:
- Mid cloud:
- High cloud:
- Seeing 1:
- Seeing 2:
- Arc Sec.:
- Jet Stream:
- Bad Layers:
- Temp:
- Relative Humidity:
- Dew risk:
- Moon impact:

## Recommended Targets
1.
- Target:
- Type:
- Why it fits:
- Recommended gear:
This format helped immediately. It made the system more actionable, and it also created clean environmental data that I can later paste into my observing log.
I Also Built a Learning Card for Each Target
Once I started getting actual observing briefings, I ran into another problem.
I would get a target recommendation like M44, and then I would immediately think, “Okay, but what exactly should I be looking for?”
If I ask for a random explanation every time, the system becomes messy. So I made a separate format called a Target Learning Card.
The workflow now looks like this:
- Jarvis gives me the daily briefing
- I choose a target
- I ask something like “Provide M44 reference”
- Jarvis replies in the same fixed format every time
That was the right call. The briefing stays short and practical, but if I want to study a target before heading out, I can do that too.
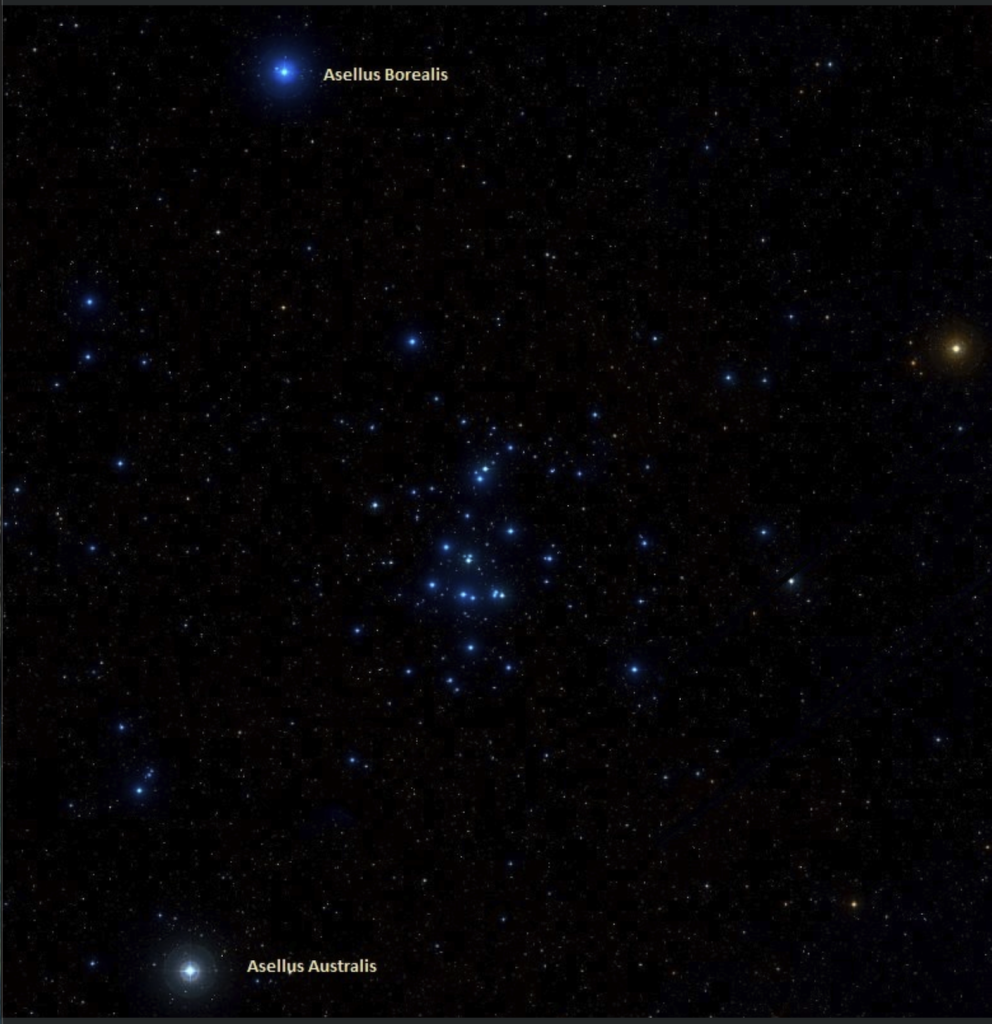
[Image insert: Example of a target learning card]
This is the structure I settled on.
# Urban Deep-Sky Hunt - Target Learning Card

- Target:
- Type:
- Best season / observing period:
- Recommendation for tonight:

## 1. What is it
- Identity:
- What kind of object it is:
- Distance / size / brightness:
- Constellation:

## 2. Why it matters
- Why it is famous:
- Why it is beginner-friendly:
- Whether it works under urban skies:

## 3. Where to find it
- Position in the sky:
- Reference stars / constellations:
- Star-hopping difficulty:

## 4. What to look for tonight
- What to expect with the naked eye / finder:
- What to expect at low power:
- What to expect at medium power:
- Main visual cue for tonight’s conditions:

## 7. Recommended gear for tonight
- Telescope:
- Eyepiece:
- Magnification direction:
- Imaging setup if relevant:
I like this structure a lot. It works before observing, it works for notes, and it can easily become blog material later.
The Most Practical Lesson I Learned
The biggest lesson was not that I needed more data.
It was that I needed a better order of judgment.
At first, I thought more data automatically meant better decisions. That was not true.
For deep-sky observing, I now think in this order:
- first, cloud
- second, transparency-like sky quality
- third, moon impact
- fourth, dew risk
- fifth, seeing
That order might change for planetary observing.
But for deep-sky work, cloud comes first.
Once I taught Jarvis to think in that order, the system became much more useful. At the very least, it became much better at answering the one question I actually care about before going outside:
Should I go out tonight or not?
Final Thoughts
This system is still evolving. Tomorrow’s 6 PM briefing may reveal new things to improve. But the direction is now clear.
- Meteoblue Astronomy is the main reference
- General weather data is only a backup
- The real question is not whether the night is “good”
- The real question is what the observing window actually is
- Targets and gear should be recommended together
- And if needed, each target should have its own learning card
That already makes astronomy feel much less overwhelming.
If you are a beginner, here is one simple thing you can do tonight:
Before checking anything else, look at low, mid, and high cloud on Meteoblue Astronomy first.
That is where I started, and now Jarvis starts there too.
Today, Jarvis evolves again.
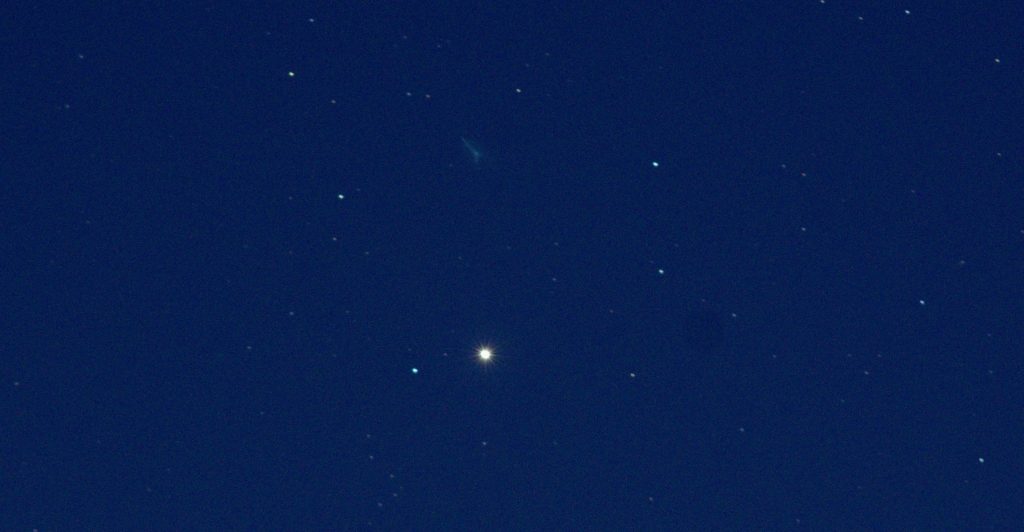
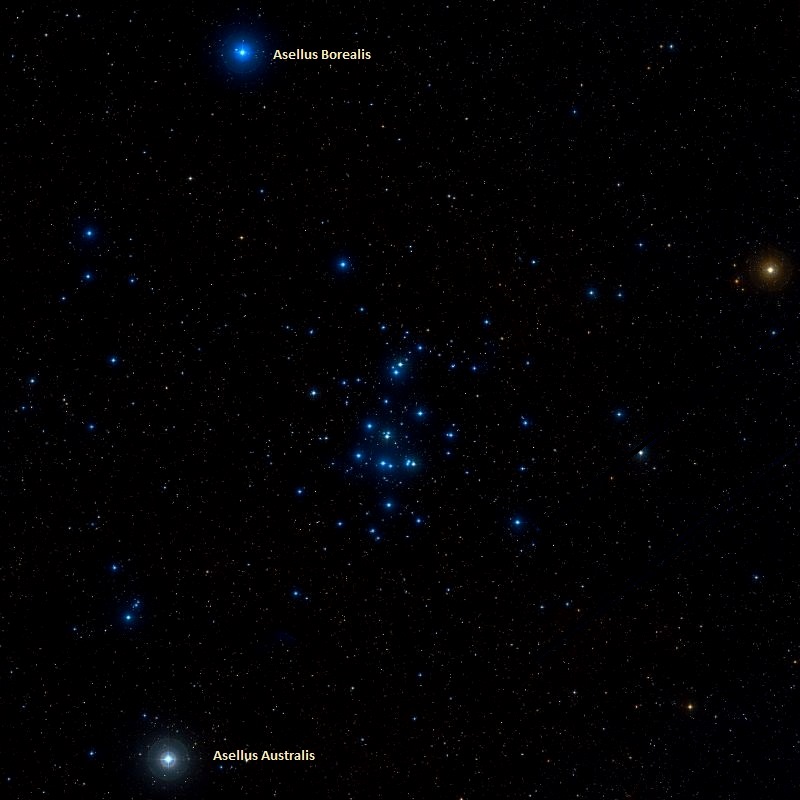
Now I’m heading out to hunt M44.